Select one or more documents in your dataset. You can select collections of documents with the Groups tool.
The selected documents will display in the Document
Viewer in the original language and in the translated language. The
first document in the groups is selected by default.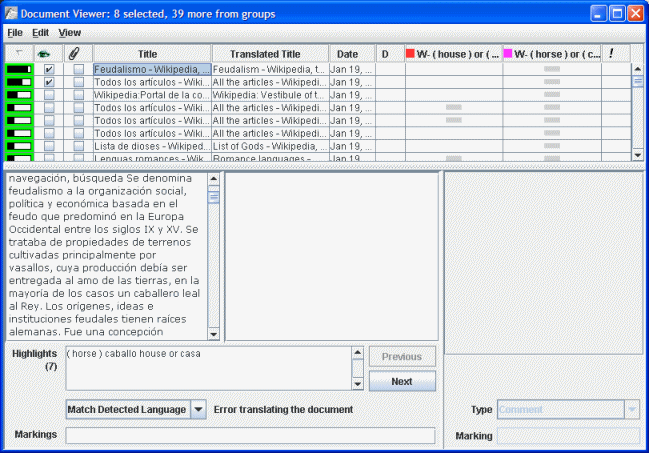
From the translator selection drop-down menu, select
Use Default Translator. 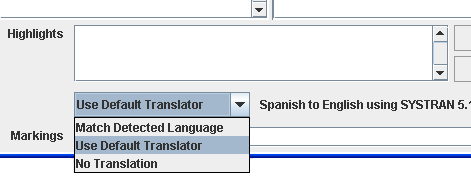
The selected document will be translated, with the translation displaying
in the middle pane.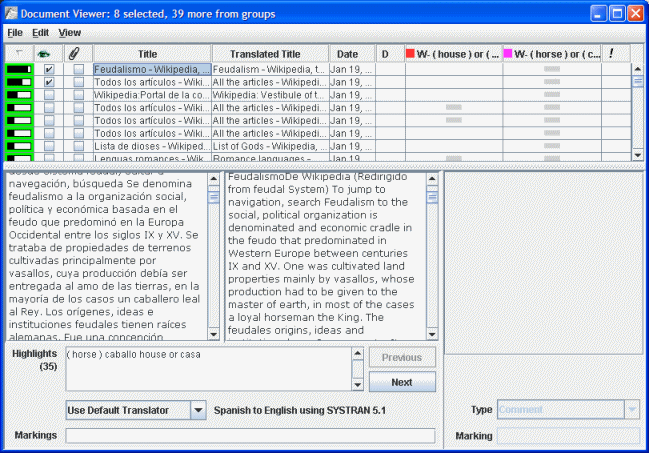
You can enlarge the viewing area by turning off the Notes viewing panel. From the View menu select the checked Notes Panel to turn it off.
By default the scroll bars in the document are synchronized so that the same area of text is displayed in both versions. You can change this setting under the Document Viewer View menu. Document titles show up in the Title and Translated Title columns above the document text.
If you created a group from a Word Search, scroll until
you find the word or phrase from the search highlighted in the document. The words will be highlighted in both languages.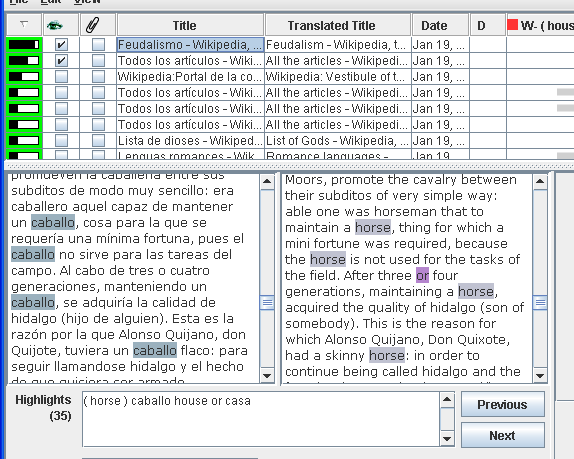
The search itself is also translated and displays in the groups
columns.