IN-SPIRE 5.6 introduces a new addition to the Time tool. Timelines allow you to pin events to the Time tool. Events can be created by hand or by adding a document's title and date information to the timeline. Multiple timelines can be shown, and timelines can be hidden by using the Time tool gear menu. Timelines are a great way to see where real-world events line up with your data, or to see where specific documents are located in time.
There are three ways to add an event to a timeline.
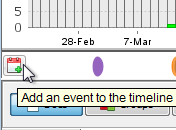
1. Click the Add Event button in the Time tool.
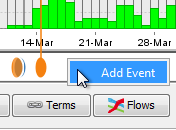
2. Right-click where you want to add an event on the Timelines bar.
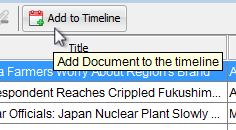
3. Click the Add to Timeline button for a highlighted document in the Document Viewer.
Any of these three actions will bring up the Add Timeline Event dialog, where you can specify options, and complete the event creation.
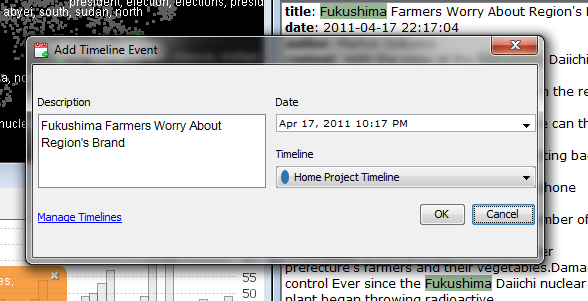
If you added a document from the Document Viewer, the title of the document will be entered into the Description box. The date and time of the article will also be pre-filled into the Date field. Note that there is not a linkage between the event and the document. The description and date can be edited and they will not affect the original document.
The Add Timeline Event dialog also lets you choose which Timeline (collection of Events) you want the event to be stored in. The Manage Timelines link will open a dialog allowing you to create, edit, and delete timelines. (See Creating a New Timeline below)
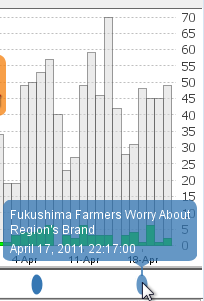
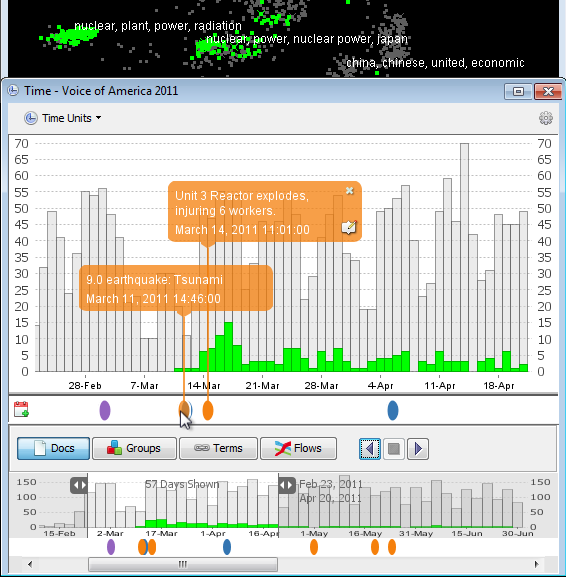
Timeline Events appear in the Time tool under the time visualization. Events are indicated with colored ovals in the same color as their Timeline. Hover over an event marker to see a pop up marker description with the description and date. If you want the marker description to stay visible, click the marker to toggle the marker description open. When a marker has been clicked, its marker description remains on the screen and can be moved up and down, left and right, to position it so it doesn't overlap your visualization. A clicked-open marker also displays an edit icon and can be closed by clicking the x in the top right corner of the marker description, or by clicking on the event marker in the timeline again.

The Time tool's gear menu lets you choose which Timelines to show in the Time tool. In this example, blue "Home Project" and orange "Spring/Summer" events will be shown, but the American Responses events are hidden from view. Click the timeline name to toggle them on and off.
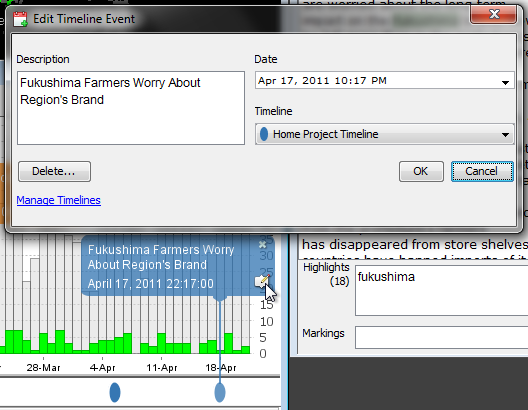
To edit or delete a Timeline Event, click the event marker in the timeline to make the Edit Timeline Event dialog appear. It will be pre filled with the information from the event. All fields can be edited here, or you can move the event to another timeline. To delete the event, click the Delete… button and confirm the action. Timeline Events can also be deleted from the Manage Timelines window.
New timelines are created in the Manage Timelines dialog. This can be opened from the hyperlink in the Add/Edit Timeline Event dialog, or from the Time Tool gear menu.
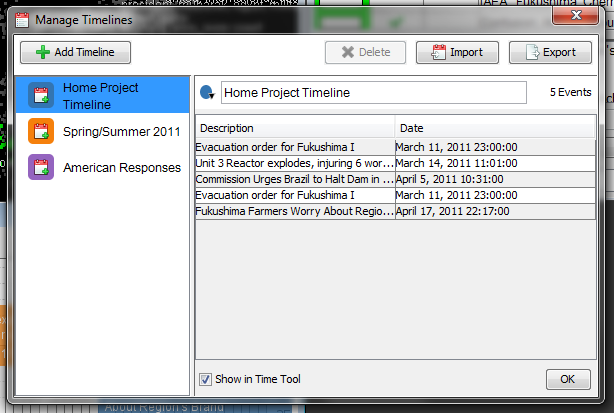
The list on the left side of the Manage Timelines dialog shows all of the timelines in the current Project. Click the Add Timeline button to create a new timeline. As Timelines are a Project-level resource, they can only be deleted from the Project window.
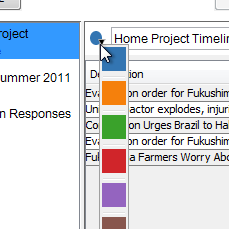
To edit a timeline, click its name in the left column. The details from the highlighted timeline will appear on the right side. This includes the color, title, and any events that have been associated with the timeline. The name can be edited directly, and the color can be changed by clicking on the color circle next to the name.
A set of events (description + date and time) can be imported to a timeline or exported out to the file system.
To export events to the filesystem (not available if IN-SPIRE is launched from a web interface), highlight one or more events (control click to toggle highlighting for each item) in the Manage Timelines dialog. If no events are highlighted, the entire list of events will be exported. Click the Export button to bring up the file chooser. The Export button will indicate how many events you are exporting, and will automatically choose Comma Separated Value (CSV) as the file format.
To import events into a timeline, choose the timeline you'd like the events to be imported into from the list on the left (or create a new timeline and select it), then click the Import button and navigate to a properly-formatted CSV file. The format is as follows:
yyyy/m(m)/d(d) h(h):mm:ss, description
for example:
2011/3/14 13:01:00, Unit 3 Reactor explodes, injuring 6 workers.
Year must be four digits, month can be one or two digits, day can be one or two digits. Hour must be two digits, in 24-hour time. If you do not want to specify a time for the event, use 00:00:00 as the time. The time must be followed by a comma. Any text following the comma until the next line break will be included as the description for that event. Note that you might want to create these files in a text editor as Microsoft Excel is sometimes too helpful with dates and will change the format automatically.
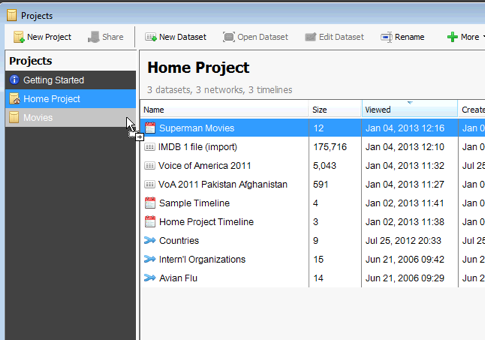
Since Timelines are project-level resources (i.e,. they can be used in any dataset in the project), they cannot be deleted from within a dataset. To delete a Timeline from a project, open the Projects window, select the Timeline, and choose Delete from the More menu.

To copy a Timeline to another project, drag its icon to the project label. This creates a copy of the Timeline and all of its events. Any changes made to the copy will not affect the original.